Classic Crochet Granny Square: Free Beginner Pattern
Soft cotton yarn loops through your fingers while you create these cheerful, geometric squares that instantly brighten any room. These little motifs feel sturdy yet flexible, making them a go-to choice for blanket makers, scarf designers, and anyone building a handmade home stash. You can sit down with a hook and a few yarn ends to produce a finished piece in less than twenty minutes, which keeps the process satisfying and quick. You will learn the classic double crochet cluster technique used for every round, focusing on maintaining consistent tension to ensure each square comes out uniform and ready for joining.
Why You’ll Love This Pattern
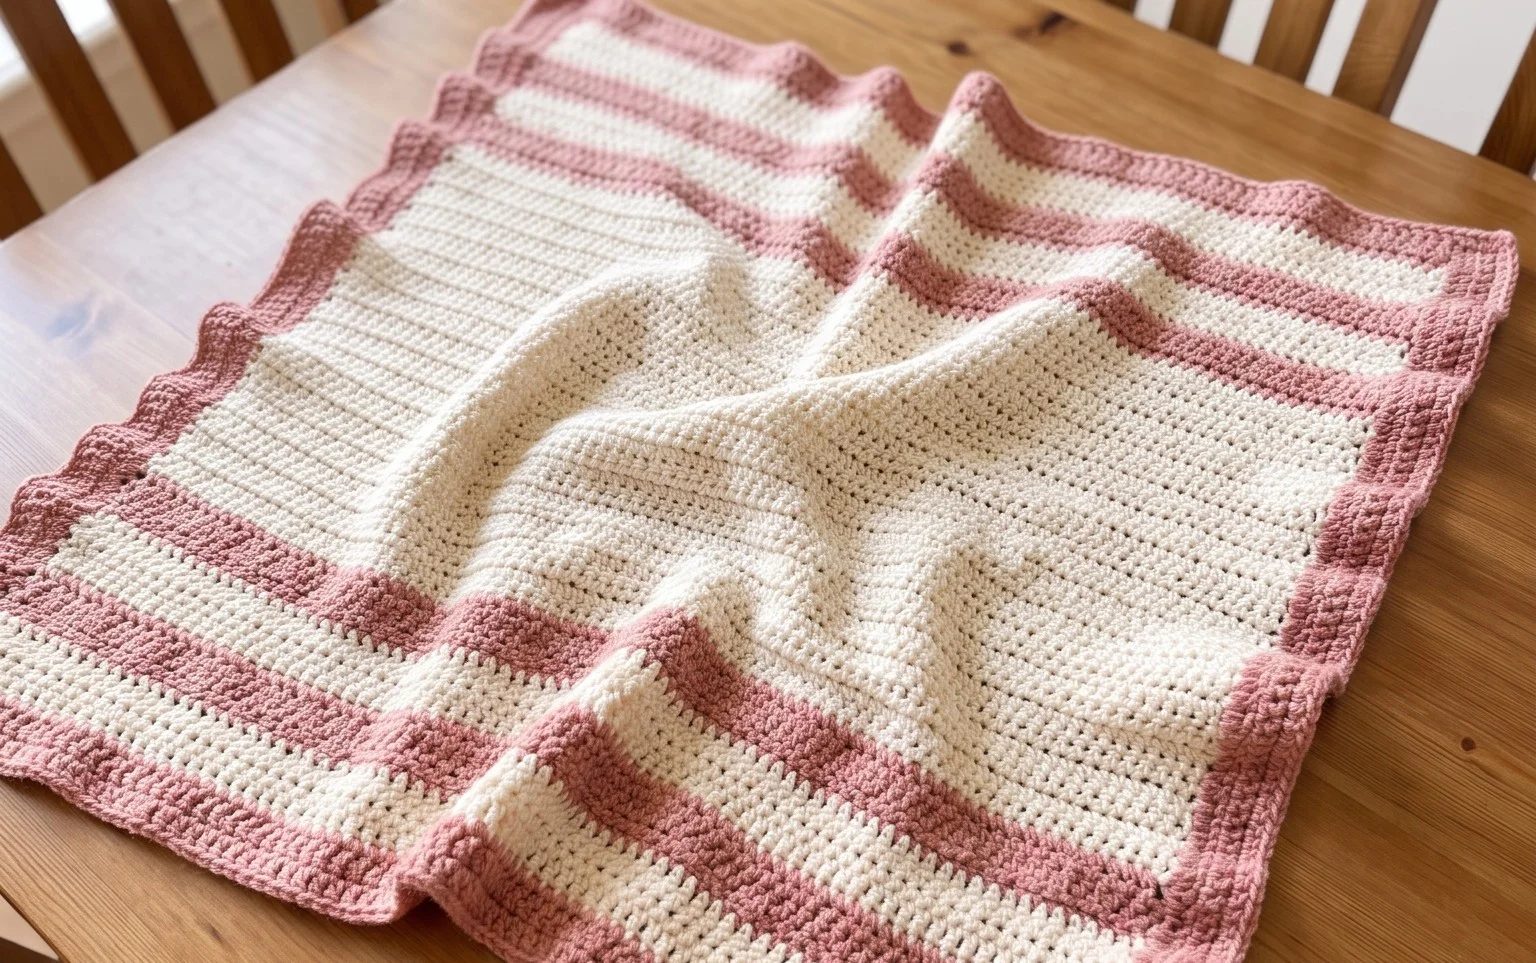
The Classic Crochet Granny Square is the quintessential building block for fiber artists because it balances simplicity with endless potential. You can complete a single square in less than twenty minutes, making it an ideal choice for filling small gaps in your schedule. Because it utilizes only basic stitches and clusters, the rhythm of the pattern becomes meditative, perfect for unwinding after a long day. Since you only need small amounts of yarn for each color block, it is the most efficient way to use up those leftover balls of scrap yarn sitting in your stash.
I started making these to use up scraps and ended up with enough for a full throw blanket in just two weeks. The pattern is easy to memorize and I love how the colors pop when you switch them every round.
— Sarah, hobbyist crafter
Pattern Overview & Skill Level
- Skill Level: Beginner
- Approximate Time: 15–20 minutes per square
- Construction: Working in rounds from the center outward
- Finished Dimensions & Sizing: Approximately 5 inches by 5 inches using worsted weight yarn
Materials & Supplies Needed
- Yarn: Worsted weight (#4) acrylic or cotton blend, approximately 15 yards per square.
- Hook Size: 5.0 mm (H-8).
- Notions: Tapestry needle for weaving in ends, scissors, and a measuring tape.
- Safe yarn substitutions: You may use DK weight (#3) yarn with a 4.0 mm hook for a smaller, tighter square, or bulky weight (#5) with a 6.0 mm hook for a larger, lacier square. Note that changing weight will significantly alter the final dimensions.
Stitch Guide & Abbreviations (US Terms)
- ch = chain
- st/sts = stitch/stitches
- sl st = slip stitch
- dc = double crochet
- dc cluster = 3 dc worked into the same space
- sp = space
- MR = magic ring
Step-by-Step Pattern Instructions
- Rnd 1: Start with a MR. Ch 3 (counts as first dc), work 2 dc into the ring, ch 2. Work 3 dc into the ring, ch 2. Repeat from * to * 2 more times. Join with a sl st to the top of the beginning ch 3. (12 dc, 4 ch-2 spaces)
- Rnd 2: Sl st into the next 2 sts and into the first ch-2 space. Ch 3, 2 dc in same sp, ch 2, 3 dc in same sp (first corner made). Ch 1, skip 3 sts, in next ch-2 space work (3 dc, ch 2, 3 dc). Repeat from * to * 2 more times. Ch 1, join with a sl st to the top of the beginning ch 3. (24 dc, 4 ch-2 spaces, 4 ch-1 spaces)
- Rnd 3: Sl st into the next 2 sts and into the corner ch-2 space. Ch 3, 2 dc in same sp, ch 2, 3 dc in same sp. Ch 1, 3 dc in the next ch-1 space, ch 1, in next ch-2 corner space work (3 dc, ch 2, 3 dc). Repeat from * to * 2 more times. Ch 1, 3 dc in the final ch-1 space, ch 1, join with a sl st to the top of the beginning ch 3. (36 dc, 4 ch-2 spaces, 8 ch-1 spaces)
Finishing Steps
Once you reach the desired size, fasten off your yarn, leaving a six-inch tail. Use your tapestry needle to weave the tail through the back of the stitches to secure it. If you plan to join multiple squares, leaving longer tails can sometimes assist in the sewing process, but weaving them in securely is essential to prevent unraveling.
Care & Washing Instructions
- Machine wash your finished squares on a gentle cycle using cool water and mild detergent.
- Lay the pieces flat on a clean towel to air dry, ensuring they are positioned in a perfect square shape while damp.
- If the corners curl, lightly steam the square or pin it down to a blocking board to set the shape permanently.
Pro Tips & Common Mistakes to Avoid
Maintain consistent tension by ensuring your yarn is held at the same tightness throughout every round; variations in tension can cause your square to pucker or bowl. Always place a stitch marker in the top of your beginning ch-3 to make the final join of the round much easier to locate. When weaving in your ends, run the needle through the base of the stitches in two different directions to lock the yarn in place. You can adjust the size of the square by simply adding more rounds following the logic of Rnd 3, where you add a (3 dc) cluster into every ch-1 space along the sides and (3 dc, ch 2, 3 dc) in every corner.
Frequently Asked Questions
Can I use a different yarn weight for this pattern?
Yes, you can use any weight yarn as long as you match it with the appropriate hook size. A thinner yarn will result in a smaller square, while a thicker yarn will make a larger, heavier one.
Is this pattern suitable for someone who has never crocheted before?
Absolutely. The granny square relies on the double crochet stitch and chaining, which are the fundamental building blocks for most crochet projects.
How do I join multiple squares together?
You can join squares using a whip stitch along the back loops with a tapestry needle, or by using a slip stitch join to create a decorative raised seam between the blocks.
Am I allowed to sell items made from this pattern?
You are welcome to sell physical finished items that you have handmade. Please refrain from selling or redistributing the written pattern text itself.
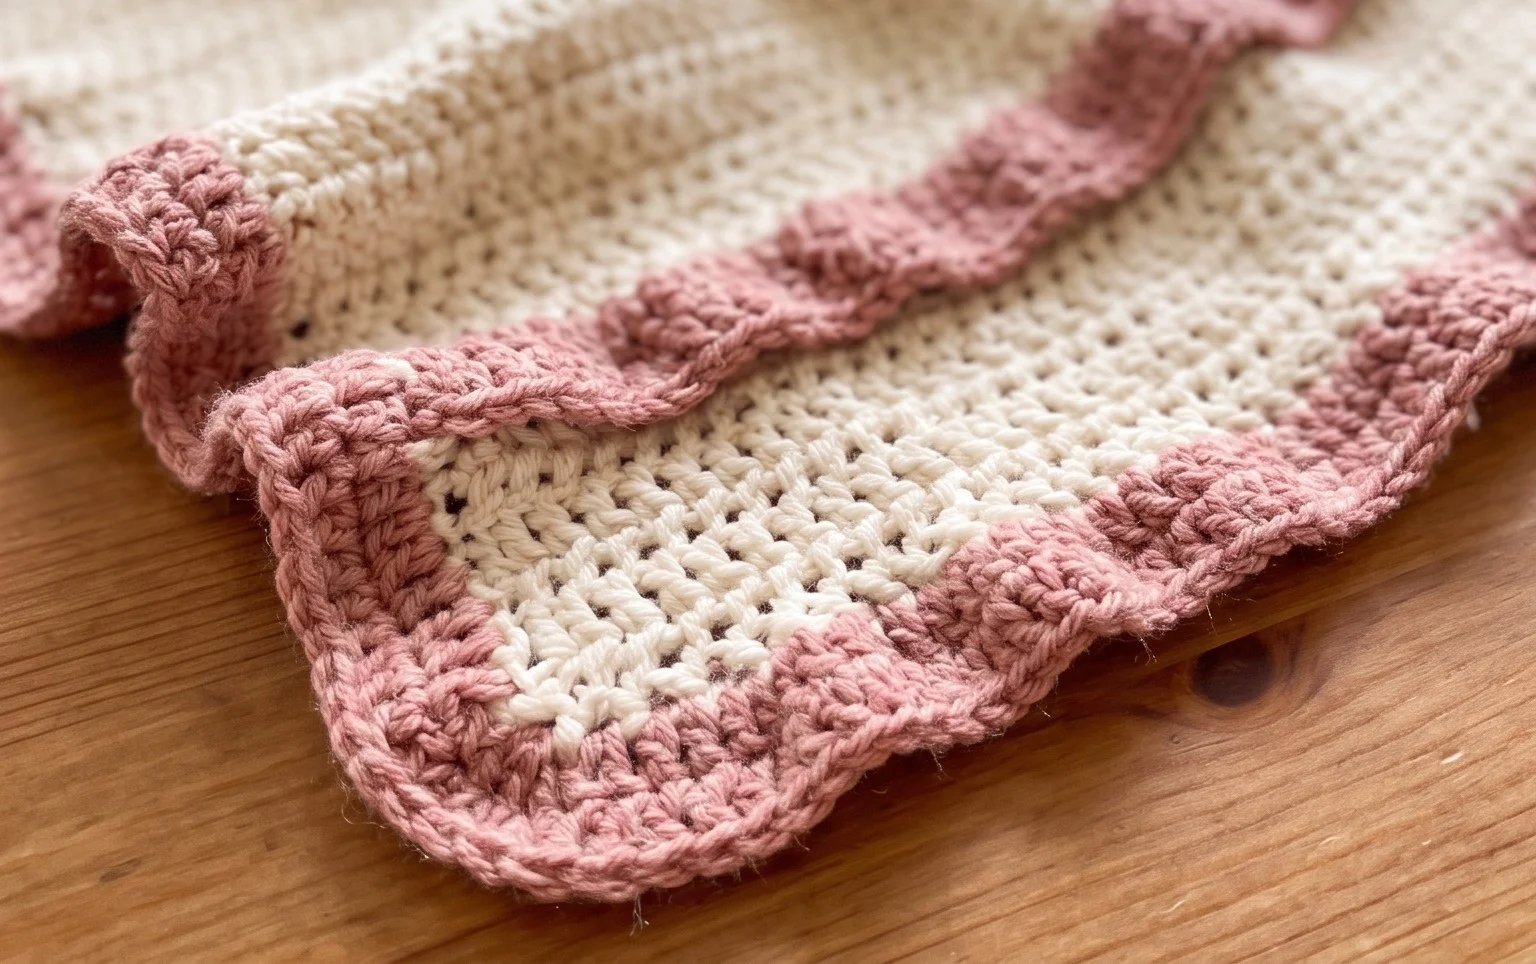
Your finished squares create a beautiful handmade foundation that grows with every single piece you add to the pile. Try working your next batch using a gradient of blues and greens to see how the color placement changes the entire mood of your final blanket. Share a picture of your finished project on Instagram or Facebook to inspire other makers in the community. You can find more free patterns and helpful tutorials on the main blog page whenever you are ready to start your next creative project.