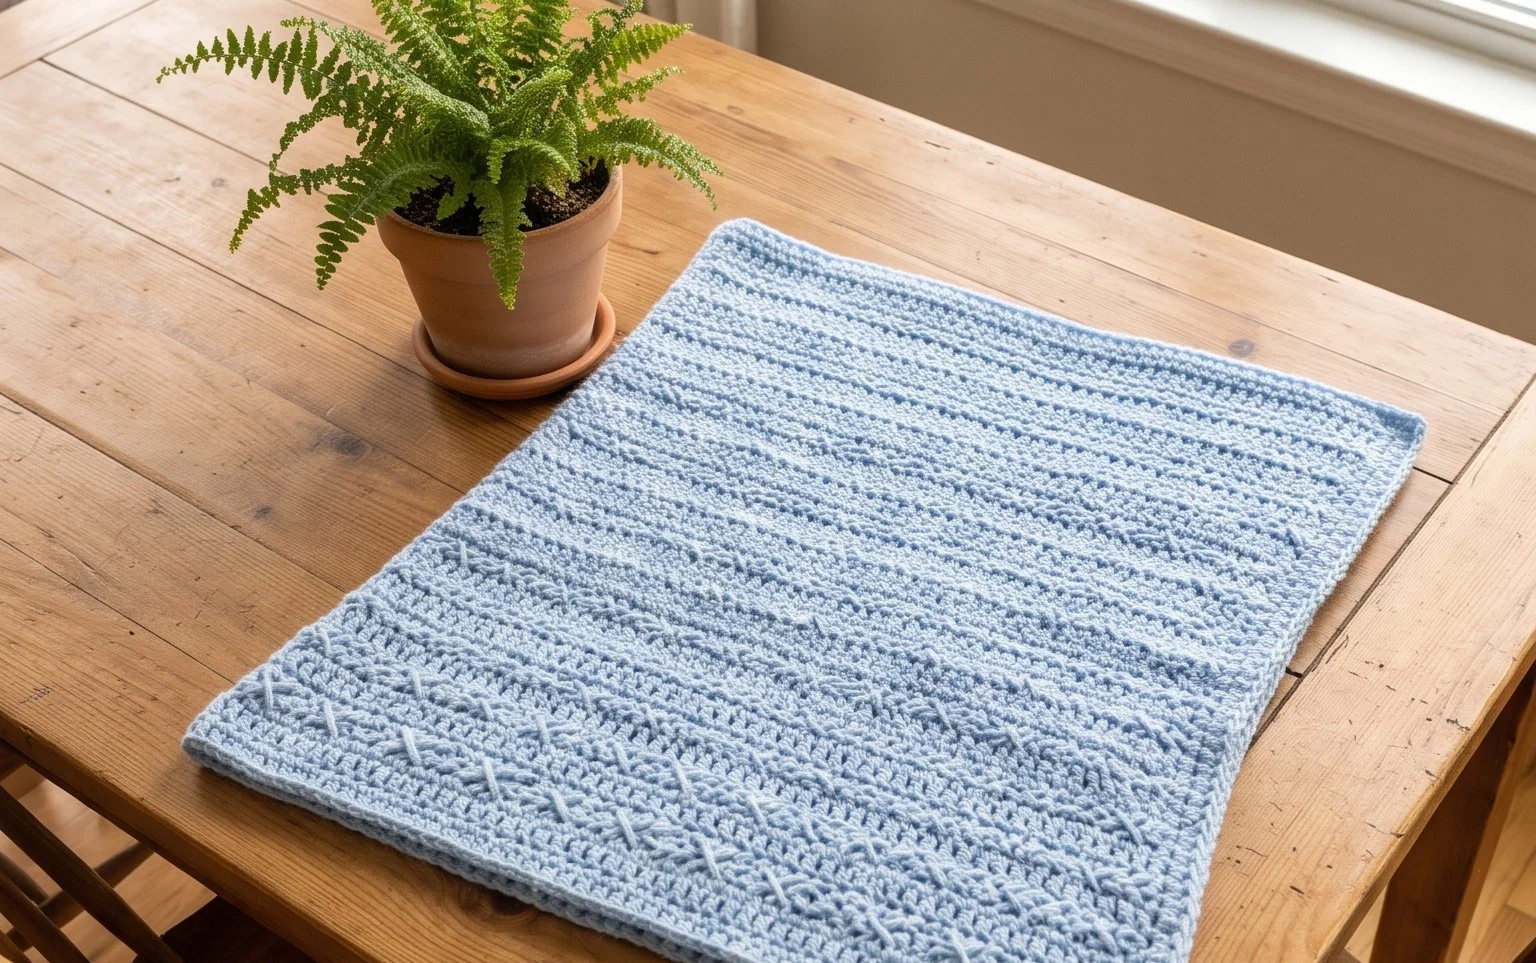
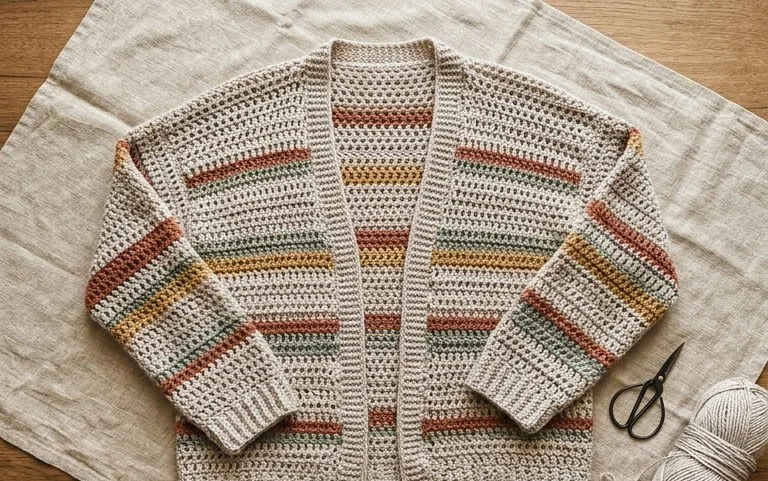
Easy Crochet Beanie Pattern: Step-by-Step Tutorial
This soft, textured beanie creates a cozy shield against chilly winds and feels lightweight enough to wear indoors during long afternoons. Beginners find comfort in the rhythmic half double crochet stitches, while experienced makers appreciate how quickly this project comes together when they need a last-minute gift for a friend. The fabric remains flexible and warm, hugging the head without feeling tight or restrictive. You will learn how to transition from flat rows to a shaped crown using simple seaming techniques. This project turns a single skein of yarn into a wearable piece that looks professional and feels genuinely handmade.
Why You’ll Love This Pattern
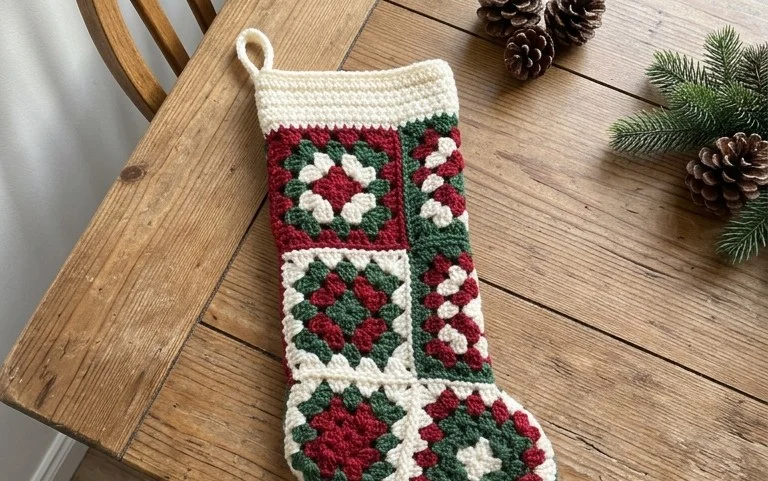
This classic crochet beanie works up quickly using a basic half double crochet stitch, making it an ideal weekend project. Because it relies on simple, rhythmic stitches, you can easily complete a hat in a single sitting while watching television or listening to an audiobook. The pattern uses a worsted weight yarn that provides just enough warmth for brisk autumn walks without feeling overly bulky or heavy on your head. Its straightforward construction means there are no complex shaping techniques to memorize, ensuring a stress-free experience for makers of all skill levels.
I managed to finish this hat in just two evenings. The instructions were very easy to follow and the size turned out exactly as described in the measurements.
— Sarah, hobbyist crocheter
Pattern Overview & Skill Level
- Skill Level: Beginner
- Approximate Time: 3 to 4 hours
- Construction: Worked flat in rows to create a rectangle, then seamed at the side and cinched at the top.
- Finished Dimensions: 18 inches circumference (unstretched) and 8.5 inches height.
Materials & Supplies Needed
- Yarn: Worsted weight (#4), 100% acrylic or wool blend, approximately 200 yards.
- Hook Size: 5.0 mm (US H-8).
- Notions: Yarn needle, stitch markers, scissors, and a pom-pom maker (optional).
- Yarn Substitutions: You can use cotton yarn for a lighter feel, though it will have less stretch than wool or acrylic. If you choose a bulkier yarn, you will need to adjust your foundation chain and total rows to match the finished dimensions.
Stitch Guide & Abbreviations (US Terms)
- ch = chain
- hdc = half double crochet
- hdc BLO = half double crochet in the back loop only
- sl st = slip stitch
- st/sts = stitch/stitches
- BLO Technique: Insert your hook into only the back loop of the stitch from the previous row instead of under both loops to create a ribbed, stretchy texture.
Step-by-Step Pattern Instructions
Main Body
- Row 1: Ch 40. Hdc in the third ch from the hook and each ch across. Turn. (38 sts)
- Row 2: Ch 2 (does not count as st), hdc BLO in each st across. Turn. (38 sts)
- Rows 3 to 60: Repeat Row 2 until the piece measures approximately 18 inches in width when slightly stretched.
Assembly and Finishing
Once you reach the desired length, fasten off your yarn, leaving a long 12-inch tail for seaming. Fold the rectangle in half so the short edges meet. Using your yarn needle, whip stitch the two edges together to create a tube. Knot securely at the bottom edge.
To close the crown, thread your yarn needle with a new length of yarn and weave it in and out along the top edge of the tube. Pull the yarn tail tightly to gather the top of the hat shut. Secure the opening with several stitches across the center to ensure it stays closed. Weave in all loose ends on the inside of the hat.
Care & Washing Instructions
- Hand wash in cool water using a gentle detergent specifically made for knit and crochet items.
- Lay the hat flat on a clean towel and reshape it, avoiding direct heat or sunlight to prevent fiber damage.
- Do not wring or twist the fabric, as this can distort the shape and stretch out the stitches.
Pro Tips & Common Mistakes to Avoid
- Maintain consistent tension throughout the rows; if your tension is too tight, the hat will lose its elasticity and fit snugly.
- Place a stitch marker in the first stitch of every row to ensure you are not accidentally dropping stitches at the edges, which would lead to a lopsided rectangle.
- When weaving in ends, follow the path of the stitches on the inside of the work to keep your finish looking professional and invisible.
- To adjust the size, add or subtract foundation chains to change the height of the hat; add or subtract rows to change the total circumference to fit your head measurements.
Frequently Asked Questions
Can I use a different yarn weight for this pattern?
Yes, but changing the yarn weight will significantly alter the finished size and drape. If you use a lighter yarn, you may need to increase the number of stitches and rows to achieve the same dimensions.
Is this project suitable for someone who just learned to crochet?
This pattern is perfect for beginners because it uses only the half double crochet stitch and requires basic seaming, providing excellent practice for maintaining even edges.
Can I sell the finished hats I make from this pattern?
Check the designer’s specific terms provided in your source materials, as some creators allow commercial use of finished items while others restrict them to personal use only.
How do I make the hat larger for a different head size?
To increase the circumference, continue adding rows until the piece wraps comfortably around the intended head size. To increase the height, start with a longer foundation chain.
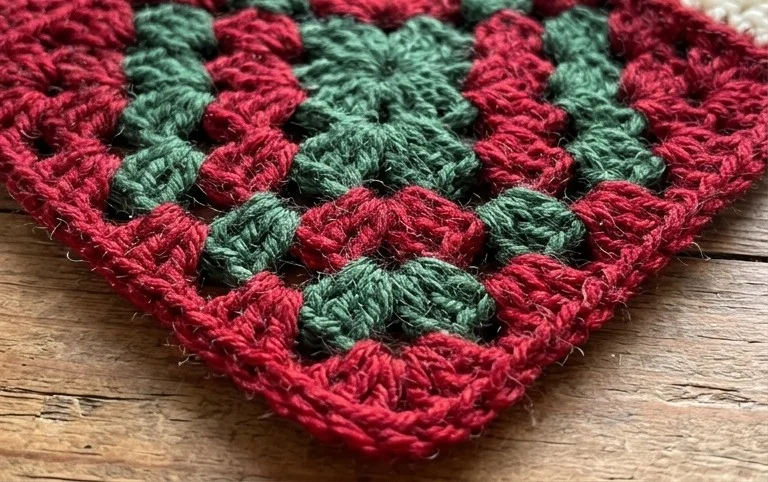
You now have a warm, custom-made hat that serves as a staple for your autumn wardrobe. Try making yours in a variegated yarn to give the stitch pattern a marbled effect or add a faux fur pom-pom to the top for a classic winter style. Sharing a photo of your finished work helps other makers see how different colors turn out in this specific design. Please browse the rest of our blog for more free patterns that you can complete over a quiet weekend morning.