Easy Christmas Blanket Crochet Pattern: Step-by-Step
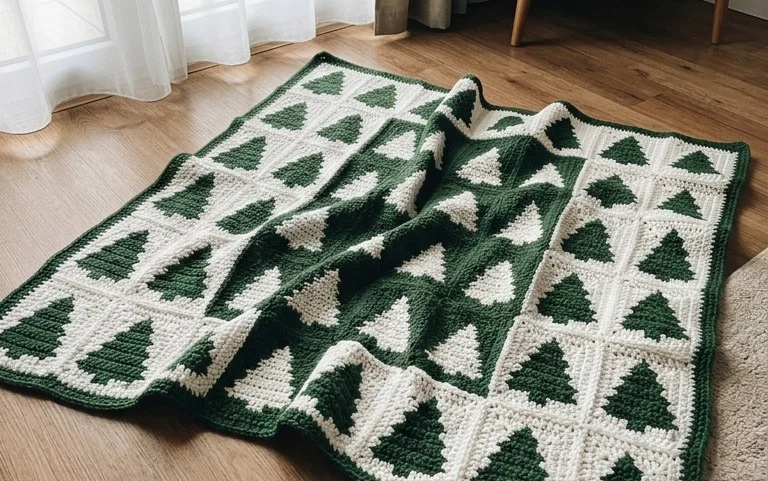
Deep red and forest green yarns tangled together create a heavy, warmth-filled blanket that feels like a cold winter evening spent by the hearth. This project uses the classic granny square method, turning simple double crochet clusters into a festive heirloom you will keep for years. It suits beginners who want to build rhythm and experienced makers looking for a portable holiday activity to gift to friends or family. You will learn to join rounds cleanly and maintain even tension as your squares grow. The resulting fabric is sturdy yet soft, providing exactly the kind of comfort that defines the season.
Why You’ll Love This Pattern
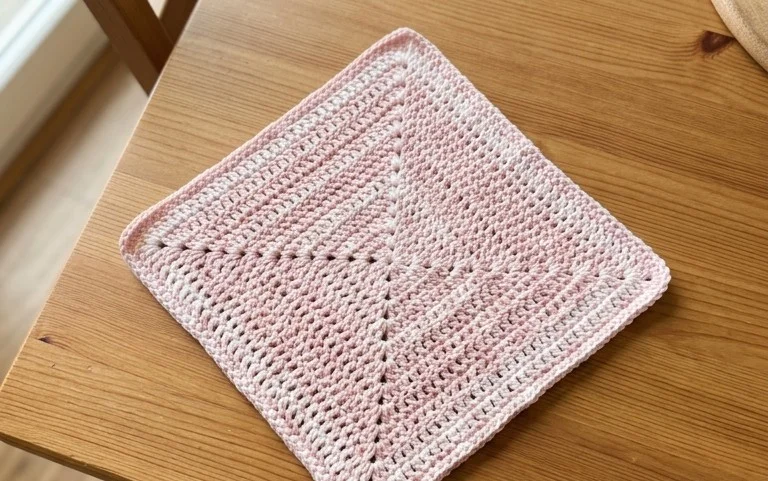
The Classic Crochet Granny Square is the fundamental building block for countless textile projects, from cozy blankets to lightweight summer totes. This pattern is exceptionally beginner-friendly because it relies on a repetitive sequence of double crochet clusters, allowing you to establish a consistent rhythm quickly. It is an ideal scrap-yarn project, as each round can be worked in a different color to use up small bits of leftover material. Because the square grows outward from the center, you can stop at any time to adjust the final size to suit your specific needs, whether you are crafting a tiny coaster or a large decorative throw.
I finally mastered the granny square after struggling for weeks with other patterns. The instructions were so clear that I managed to finish four squares in a single evening without any confusion.
— Sarah, casual crafter
Pattern Overview & Skill Level
- Skill Level: Beginner
- Approximate Time: 30 to 45 minutes per square
- Construction: Worked in joined rounds, starting from the center and expanding outward
- Finished Dimensions: Approximately 6 inches by 6 inches when using the recommended yarn weight and hook
Materials & Supplies Needed
- Yarn: Worsted weight (#4), 100% acrylic or wool blend, approximately 20 yards per square.
- Hook Size: 5.0 mm (US H-8).
- Notions: Tapestry needle for weaving in ends, sharp scissors.
- Yarn substitutions: You may use DK weight (#3) for a smaller, tighter square, or bulky (#5) for a larger, quicker result. Changing yarn weight will require a hook size adjustment to maintain appropriate drape and tension.
Stitch Guide & Abbreviations (US Terms)
- ch = chain
- dc = double crochet
- sl st = slip stitch
- sp = space
- Cluster = a set of 3 dc stitches worked into the same space or stitch
- Magic Ring: A method of starting a round by working into an adjustable loop to ensure a tight center.
Step-by-Step Pattern Instructions
Center and Foundation
- Rnd 1: Start with a magic ring. Ch 3 (counts as first dc here and throughout), 2 dc into the ring, ch 2, *3 dc into the ring, ch 2; repeat from * twice more. Join with a sl st to the top of the initial ch 3. (12 dc, 4 ch-2 spaces)
- Rnd 2: Sl st into the next 2 sts and into the first ch-2 corner space. Ch 3, (2 dc, ch 2, 3 dc) all in the same corner space. *Ch 1, (3 dc, ch 2, 3 dc) in the next corner space; repeat from * twice more. Ch 1, join with a sl st to the top of the initial ch 3. (24 dc, 4 corner spaces, 4 side ch-1 spaces)
Expanding the Square
- Rnd 3: Sl st into the next 2 sts and into the corner space. Ch 3, (2 dc, ch 2, 3 dc) in the same corner space. *Ch 1, 3 dc in the next ch-1 side space, ch 1, (3 dc, ch 2, 3 dc) in the next corner space; repeat from * twice more. Ch 1, 3 dc in the last ch-1 side space, ch 1, join with a sl st to the top of the initial ch 3. (36 dc, 4 corner spaces, 8 side ch-1 spaces)
- Rnd 4: Work in the same manner as Round 3. Each corner receives (3 dc, ch 2, 3 dc), and every ch-1 side space receives 3 dc, with a ch 1 between every cluster. Join with a sl st to the top of the initial ch 3. (48 dc, 4 corner spaces, 12 side ch-1 spaces)
Finishing
After completing Rnd 4, fasten off the yarn by cutting the strand, leaving a 6-inch tail. Pull the tail through the loop on your hook and pull tight to secure. Use a tapestry needle to weave the tail through the back of the stitches to prevent fraying.
Care & Washing Instructions
- Hand wash your finished square in cool water using a mild wool-safe detergent to preserve fiber integrity.
- Lay the piece flat on a clean towel and reshape it while damp to ensure the corners remain square.
- Avoid using a tumble dryer, as heat can cause synthetic fibers to melt and natural fibers to felt or shrink.
Pro Tips & Common Mistakes to Avoid
Maintain consistent tension by holding your yarn with a steady grip, ensuring that your clusters do not become too loose or too tight. Use a stitch marker in the first stitch of every round to keep track of where you need to join, which prevents the square from spiraling. When weaving in your ends, run the yarn needle through the back loops of the same color stitches to keep the repair invisible from the front. If you decide to add more rounds to make your square larger, remember that each additional round will require approximately 10 to 15 percent more yarn than the previous round.
Frequently Asked Questions
Can I use a different yarn weight for this project?
Yes, you can use any weight of yarn, but you must choose a hook size recommended on the yarn label. A smaller hook creates a stiffer fabric, while a larger hook creates a more open, lacy texture.
How do I make the square larger?
To expand the size, simply continue working additional rounds following the pattern established in Rnd 3 and Rnd 4, where each side space receives a 3 dc cluster and corners receive (3 dc, ch 2, 3 dc).
Is this pattern suitable for someone who has never crocheted before?
Yes, this is an ideal project for beginners because it uses only basic stitches and helps you practice the essential skill of working in rounds.
May I sell items made from this pattern?
You are welcome to sell finished squares or projects you create using this design, but please do not sell or distribute the pattern text itself as your own work.
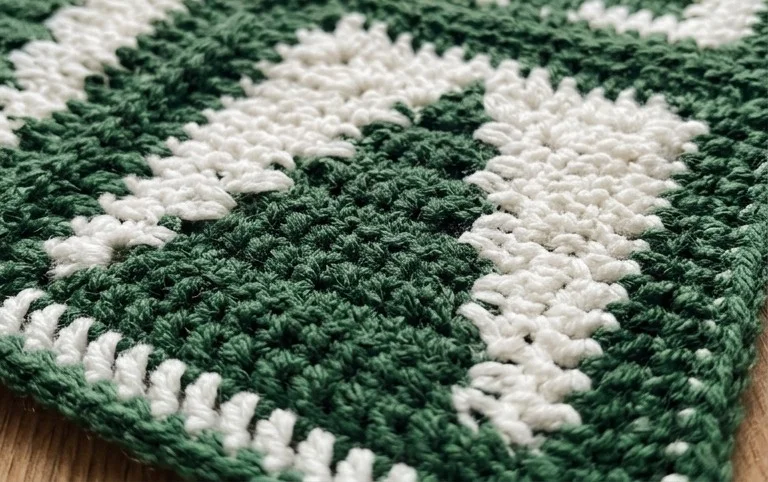
Watching your stack of squares grow into a finished holiday throw provides a deep sense of accomplishment. If you want to change the aesthetic, try using cream and metallic gold yarn for a softer look or add a border of simple single crochet stitches for extra weight. Once you finish your holiday creation, post a photo of your progress online to show others your work. You can find more free patterns and seasonal ideas on the main blog page for your next project.