Easy Classic Granny Square Pattern: Free Step-by-Step Guide
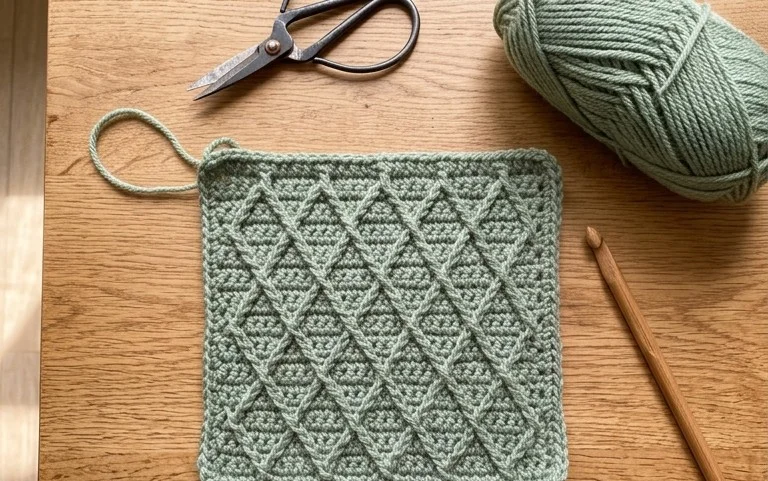
A simple wool square creates a dense, soft fabric that holds its shape through years of daily use, whether tucked onto a living room chair or folded neatly into a gift basket. This project fits comfortably into the hands of beginners who want to move past basic swatches, providing a tactile, rhythmic way to build confidence with every completed round. You will gain a solid understanding of how to work double crochet stitches into chain spaces to create the signature gaps of the classic granny square. Making these squares turns idle moments into tangible, useful pieces of home decor that feel remarkably warm and sturdy.
Why You Will Love This Pattern
The Classic Crochet Granny Square is the quintessential building block for fiber artists because it balances simplicity with endless versatility. This project relies on a rhythmic, four-round repeat that is easy to memorize during a commute or while watching television. Because it works up quickly in small segments, it serves as the ideal method for using up leftover yarn bits from larger projects. Each square can be joined with others to form blankets, tote bags, or garments, providing a modular approach to crochet that prevents you from feeling overwhelmed by a massive piece of fabric.
I finally mastered the granny square with this tutorial. The instructions for the corners were much easier to understand than the diagrams I found in books.
— Sarah, beginner crocheter
Pattern Overview & Skill Level
- Skill Level: Beginner
- Approximate Time: 30 to 45 minutes per square
- Construction: Worked in joined rounds, starting from the center and expanding outward.
- Finished Dimensions: Approximately 6 inches by 6 inches using standard worsted weight yarn and a 5.0 mm hook.
Materials & Supplies Needed
- Yarn: Worsted weight (#4), 100% wool or acrylic blend, approximately 20 yards per square.
- Hook Size: 5.0 mm (US H-8).
- Notions: Yarn needle for weaving in ends, sharp scissors.
- Yarn Substitutions: Cotton yarn works well for a stiffer square but may require a slightly larger hook to maintain drape. Avoid novelty or eyelash yarns, as they obscure stitch definition and make joining the squares difficult.
Stitch Guide & Abbreviations (US Terms)
- ch = chain
- sl st = slip stitch
- dc = double crochet: Yarn over, insert hook into stitch, pull up a loop, yarn over and pull through two loops, yarn over and pull through remaining two loops.
- Cluster = a group of 3 dc worked into the same space.
- Corner = 3 dc, ch 2, 3 dc worked into the same ch-space.
Step-by-Step Pattern Instructions
The Foundation
- Foundation: Ch 4 and join with a sl st to the first ch to form a ring.
- Rnd 1: Ch 3 (counts as first dc), work 2 dc into the ring, ch 2, *3 dc into ring, ch 2; repeat from * twice more. Join with a sl st to the top of the beginning ch-3. (12 dc, 4 ch-2 spaces)
Expanding the Square
- Rnd 2: Sl st into the next dc and into the first ch-2 corner space. Ch 3, (2 dc, ch 2, 3 dc) in same corner space. *Ch 1, skip 3 dc, (3 dc, ch 2, 3 dc) in next corner space; repeat from * twice more. Ch 1, join with a sl st to the top of the beginning ch-3. (24 dc, 4 ch-1 spaces, 4 ch-2 spaces)
- Rnd 3: Sl st into the next dc and into the first ch-2 corner space. Ch 3, (2 dc, ch 2, 3 dc) in corner space. *Ch 1, 3 dc in next ch-1 space, ch 1, (3 dc, ch 2, 3 dc) in next corner space; repeat from * twice more. Ch 1, 3 dc in next ch-1 space, ch 1, join with a sl st to the top of the beginning ch-3. (36 dc, 8 ch-1 spaces, 4 ch-2 spaces)
- Rnd 4: Sl st into the next dc and into the first ch-2 corner space. Ch 3, (2 dc, ch 2, 3 dc) in corner space. *[Ch 1, 3 dc in next ch-1 space] twice, ch 1, (3 dc, ch 2, 3 dc) in next corner space; repeat from * twice more. [Ch 1, 3 dc in next ch-1 space] twice, ch 1, join with a sl st to the top of the beginning ch-3. (48 dc, 12 ch-1 spaces, 4 ch-2 spaces)
Care & Washing Instructions
- Hand wash finished items in cool water with a mild wool-safe detergent to preserve the fibers.
- Lay the square flat on a clean towel to air dry, gently shaping the corners to ensure they sit at 90-degree angles.
- If the square appears puckered, use a steam iron on a low setting held several inches above the fabric to block it into a crisp shape.
Pro Tips & Common Mistakes to Avoid
- Maintain consistent tension by holding your yarn with a steady, relaxed grip; if the square starts to cup, your tension is too tight, and you should move up one hook size.
- Place a locking stitch marker in the top of your beginning ch-3 chain to clearly identify where each round ends and begins.
- Weave your yarn ends into the back of the clusters rather than the open spaces to keep the work looking clean and professional.
- Adjust the size by adding or subtracting rounds; note that every additional round adds approximately 1.5 inches in width, which increases the yarn requirement per square by about 15%.
Frequently Asked Questions
Can I use a different yarn weight for this pattern?
Yes, you can use any weight of yarn. Using a lighter weight yarn will produce a smaller, more delicate square, while a bulkier yarn will result in a larger, thicker square. Simply match your hook size to the recommendation on the yarn label.
Why do my corners look rounded instead of square?
Rounded corners often happen if your chain-2 spaces are too loose or if you are skipping stitches accidentally. Ensure you are working exactly 3 dc, ch 2, 3 dc into each corner space every round.
Is this pattern suitable for complete beginners?
This is a foundational pattern that teaches the basic double crochet stitch and how to work into spaces rather than individual stitch loops. It is widely considered one of the best ways to learn crochet anatomy.
Can I sell items made from this pattern?
You are welcome to sell finished squares or projects you create. Please check the specific terms of the yarn manufacturer for any additional restrictions on commercial use of their products.
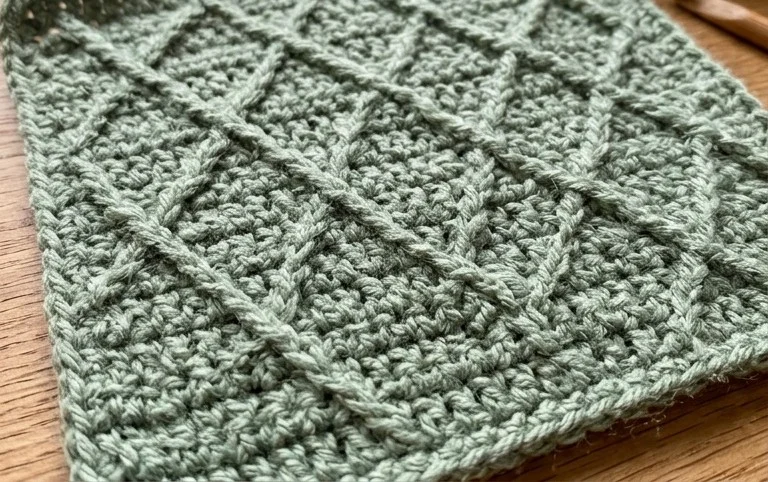
Your finished square sits flat and square, ready to be stitched into a larger blanket or used alone as a drink coaster. Swap the wool for a vibrant mercerized cotton if you need extra durability for kitchen items. Please take a photo of your handiwork and post it to your favorite social platform so others can see your progress. You can find more free instructions and project ideas in our library to keep your hands busy with new techniques throughout the coming weeks.